Mexican Stuffed Shells are featured so often on Pinterest that I have no idea who originated this delicious recipe. One special change I made was to substitute Boca Veggie Ground Crumbles for my vegetarian daughter. This entree would be equally delicious with ground beef or ground turkey.
My son-in-law is a diehard carnivore but even he went back for seconds! Grandson No. 1 -- age 10 -- is an omnivore, as he puts it. We’ve recently come to realize that my 6-year old grandson is (going to be) a vegetarian. He barely touches meat and he likes most of his foods uncooked. I’m glad to know that both of them -- all 4 of them as a matter of fact -- love their salads and vegetables.
Grandma -- that’s me -- will eat most anything. That’s the way I was raised, but I find as I get older (I do that regularly) I prefer less meat and more veggies. Right now my daughter and I are in the midst of a modified Paleo diet. Meaning we’re pretty much restricting ourselves to meat, veggies and fruit. Because she’s a vegetarian, she ends up adding beans and some grains to her diet to meet her caloric and nutritional needs. I add some dairy because I never ate/drank much of it in the first place, but probably need what I can get to avoid osteoporosis.
Back to the recipe
MEXICAN STUFFED SHELLS
(Serves 5-6)
Ingredients...
1-pound ground beef or ground turkey
1 package taco seasoning
4 ounces cream cheese
18 jumbo pasta shells
1-1/2 cups salsa
1 cup taco sauce
1 cup shredded cheddar cheese
1 cup shredded Monterey Jack cheese
3 green onions, chopped
1/4 - 1/3 cup pitted black olives, cut in quarters
Sour cream
Instructions...
1. Preheat oven to 350-degrees Fahrenheit.
2. In a pan, brown the meat; add taco seasoning and prepare according to package directions.
3. Add cream cheese to meat mixture; cover and simmer until cheese is melted. Stir together and mix well. Cool thoroughly.
4. While meat is cooking, cook pasta according to package directions. Drain. Rinse with cold water. Drain. Set shells on pan or large plate with space between so they don’t stick together.
5. Pour salsa on bottom of a baking pan.
6. Stuff each shell with 1 - 2 tablespoons of the meat mixture. Place them in the pan, open side up.
7. Evenly cover shells with taco sauce.
8. Cover with foil and bake thirty (30”) minutes.
9. Remove foil and sprinkle with onions, olives and shredded cheeses.
10. Bake 10” - 15” more (leave foil OFF), until cheeses melt and mixture is just starting to bubble.
11. Serve with sour cream. If desired, serve with more chopped onions, shredded lettuce and diced tomatoes. Oh, and maybe more salsa!
NOTES:
* Since I was feeding carnivores (meat-eaters) and vegetarians, I substituted Boca Frozen Veggie Ground Crumbles (prepared as directed on package) and everyone was satisfied.
* My daughter had made an ATK (America’s Test Kitchen) recipe the day before and gave me her homemade taco seasoning from that entree. I used it and was happy with the results.
* I used mild salsa and mild taco sauce. Next time I may up the heat a notch in one or the other.
* Recipes I saw called for a 9-inch by 13-inch pan. No! Go smaller so that the finished, stuffed shells touch each other.
* I prefer full-fat cream cheese and sour cream!
Can you believe, next month -- September 2013 -- will be the two year anniversary of Step by Step in the Kitchen. And, I’ll be having my 68th birthday. Love it! You’re never too old for anything... blogging, whatever.
Maybe my creeping-up advanced age is what accounts for the fact that I only got one picture of these marvelous Mexican Stuffed Shells. Or, maybe it was the expected dinner company that threw me off.
So, the pictures are from the next day when I was having leftovers. I duplicated the one and cropped it this way and that, so now there are three views of the same photo! Sorry there’s not more, but check online and like I said, you’ll find lots of versions of this recipe and many great pics.
Last but not least, I hope you'll take a few minutes to visit my other blog, CORNING NY STEP BY STEP -- a view of the city where I live.
CORNING NY STEP BY STEP is now on Facebook. LIKE it and you’ll see when I post a new entry to that blog, plus there will be extra photos of people, places and things of Corning, New York that didn’t make it into the blog itself.
Thursday, August 22, 2013
Tuesday, August 6, 2013
Frozen Peanut Butter Butterfingers Pie And A 20-Second Microwave Chocolate Cake
How many ways can you make a Frozen Peanut Butter Butterfinger Pie look scrumptious? With my iPad and a Hipstamatic app, every way worked. But, I forced myself to cut back the numbers, knowing my readers wouldn’t want to look at 20-plus photos of a slice of pie.
You’ll find this no-bake ~ that’s right, there’s no baking ~ creation at the blog known as Confessions of a Cookbook Queen. Once I saw her pictures and read this March 5, 2013 blog entry, I knew I had to make this pie. Always good to follow your instincts! And, in this case, just follow the recipe ~ no need to make any changes or adjustments.
I do have to point out that after I chopped up the Butterfingers candy to be folded into the filling, I found there were big chunks and lots of little crumbs. So, I folded the bigger chunks into the filling and sprinkled the crumbs on the bottom of the Chocolate Oreos Pie Crust before adding the filling. Having done that, I now realize I could have sprinkled them on top as decorations. Or saved some chunks, or whole mini Butterfingers, for decorating the top.
I’ll have to try each method. Which means I’ll have to make at least three more pies! Oh, my, so much pie...
Frozen Peanut Butter Butterfingers Pie even looks yummy in black and white!
As long as we’re talking about desserts ~ and chocolaty desserts at that ~ I’ll take a moment to mention the single-serve flour-free Microwave Chocolate Cake I made several months ago. The original recipe comes from Marc Matsumoto at PBS.org.
This is a 20-seconds-to-bake (microwave) cake that calls for heavy cream*. In lieu of said cream and not wanting to have more liquid leftovers, I used 2% milk, successfully! I sprinkled confectionery sugar on top. As a decorative alternative, top with fresh fruit such as a strawberry or with mint leaves. Or, sprinkle with colored sugar or non-pareils (the white sprinkles on certain chocolate candies).
* Recipes that call for whole milk, cream, Half’n’Half or even coconut milk often leave me with a surplus that I can’t bear to throw away. I measure out the remainder by tablespoons (ice cube tray, then freezer bag after hardens), or half-cups or cups (small mason jars, label and freeze)
You’ll find this no-bake ~ that’s right, there’s no baking ~ creation at the blog known as Confessions of a Cookbook Queen. Once I saw her pictures and read this March 5, 2013 blog entry, I knew I had to make this pie. Always good to follow your instincts! And, in this case, just follow the recipe ~ no need to make any changes or adjustments.
I do have to point out that after I chopped up the Butterfingers candy to be folded into the filling, I found there were big chunks and lots of little crumbs. So, I folded the bigger chunks into the filling and sprinkled the crumbs on the bottom of the Chocolate Oreos Pie Crust before adding the filling. Having done that, I now realize I could have sprinkled them on top as decorations. Or saved some chunks, or whole mini Butterfingers, for decorating the top.
I’ll have to try each method. Which means I’ll have to make at least three more pies! Oh, my, so much pie...
Frozen Peanut Butter Butterfingers Pie even looks yummy in black and white!
As long as we’re talking about desserts ~ and chocolaty desserts at that ~ I’ll take a moment to mention the single-serve flour-free Microwave Chocolate Cake I made several months ago. The original recipe comes from Marc Matsumoto at PBS.org.
This is a 20-seconds-to-bake (microwave) cake that calls for heavy cream*. In lieu of said cream and not wanting to have more liquid leftovers, I used 2% milk, successfully! I sprinkled confectionery sugar on top. As a decorative alternative, top with fresh fruit such as a strawberry or with mint leaves. Or, sprinkle with colored sugar or non-pareils (the white sprinkles on certain chocolate candies).
* Recipes that call for whole milk, cream, Half’n’Half or even coconut milk often leave me with a surplus that I can’t bear to throw away. I measure out the remainder by tablespoons (ice cube tray, then freezer bag after hardens), or half-cups or cups (small mason jars, label and freeze)
Monday, July 29, 2013
Maryland Meals
Not only has Wegmans opened a new supermarket near my son’s Maryland home, but also that general mall-like area has completed numerous stores and restaurant. As on all trips to visit him, we ate healthy at home then ate out a lot.
Charming cheeses at Wegmans...
Eating at home
Tortillas, chopped chicken breast, cabbage slaw with mayo...
Green leafy lettuce, salmon burger, asparagus, shredded mango chutney...
Salmon burger, cooked cabbage slaw, green leafy lettuce, mixed fruit...
Naan, Portabella Mushroom Bruschetta, shredded mozzarella...
Eating out
In addition to enjoying several meals in Wegmans Cafe, we tried out Elevation Burger (hamburgers and fries at their finest)...
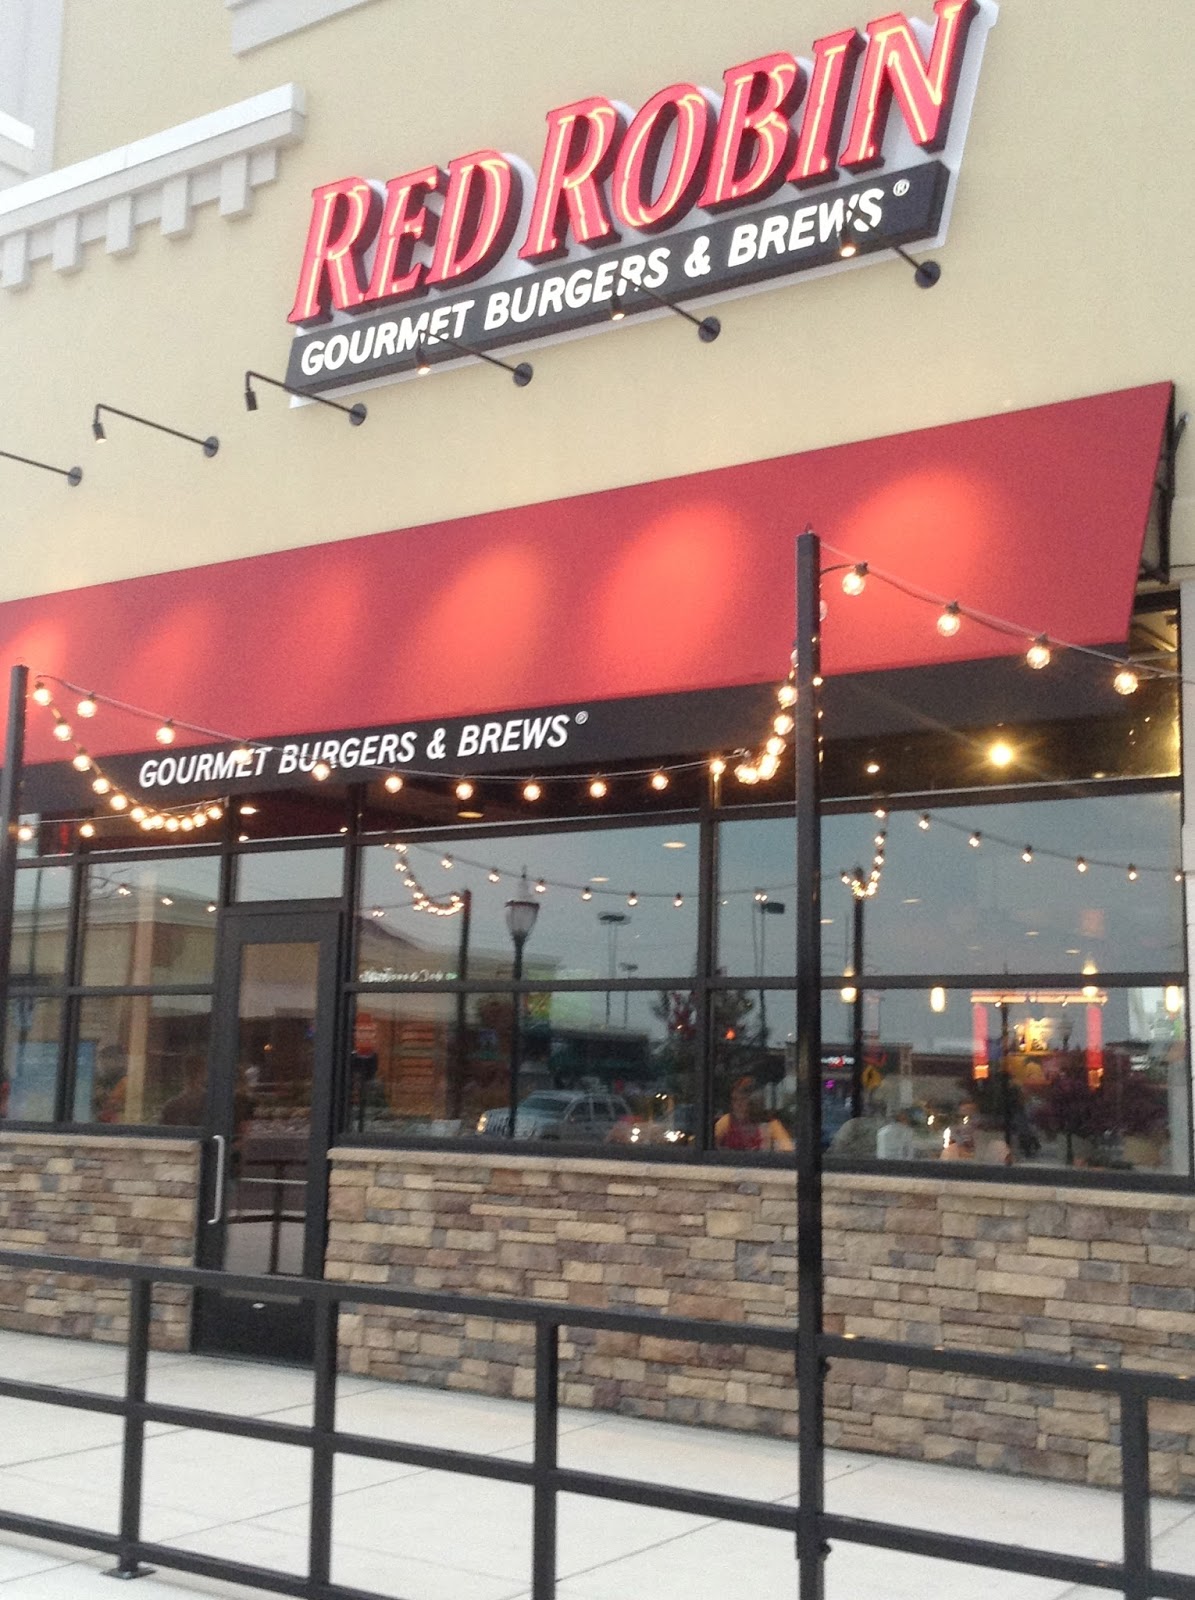
Right next door to Elevation Burger is Red Robin. We also ate at a Red Robin on our trip back to NYS, about the halfway point, where my daughter and her boys meet to drive me the rest of the way. Think bottomless when you eat at Red Robin--bottomless fries, bottomless beverages. Wow! My choices on these two stops were Keep it Simple and All American Patty Melt.
Just a few doors down from EB and RR is Nando’s Peri-Peri (no more drives to Annapolis just for Peri-Peri).
A chicken wrap and garlic mashed potatoes. Oh, so yummy, but way too much and I couldn’t eat it all. Consider this--I usually only eat mashed potatoes at Thanksgiving and Christmas, so this was a treat!
We took a long drive west on Maryland’s Historic National Road and ended up in Frederick MD where we stopped for lunch at The Orchard. I had a Portabella Mushroom Melt which consisted of portabella on naan with tomatoes, red onions, Jack cheese, thousand island dressing, sprouts...
Look what we spotted on the streets of Frederick as we walked to The Orchard. The One-of-a-kind sign in the window certainly fits this Ferrari.
Charming cheeses at Wegmans...
Eating at home
Tortillas, chopped chicken breast, cabbage slaw with mayo...
Green leafy lettuce, salmon burger, asparagus, shredded mango chutney...
Salmon burger, cooked cabbage slaw, green leafy lettuce, mixed fruit...
Naan, Portabella Mushroom Bruschetta, shredded mozzarella...
Eating out
In addition to enjoying several meals in Wegmans Cafe, we tried out Elevation Burger (hamburgers and fries at their finest)...
Right next door to Elevation Burger is Red Robin. We also ate at a Red Robin on our trip back to NYS, about the halfway point, where my daughter and her boys meet to drive me the rest of the way. Think bottomless when you eat at Red Robin--bottomless fries, bottomless beverages. Wow! My choices on these two stops were Keep it Simple and All American Patty Melt.
Just a few doors down from EB and RR is Nando’s Peri-Peri (no more drives to Annapolis just for Peri-Peri).
A chicken wrap and garlic mashed potatoes. Oh, so yummy, but way too much and I couldn’t eat it all. Consider this--I usually only eat mashed potatoes at Thanksgiving and Christmas, so this was a treat!
We took a long drive west on Maryland’s Historic National Road and ended up in Frederick MD where we stopped for lunch at The Orchard. I had a Portabella Mushroom Melt which consisted of portabella on naan with tomatoes, red onions, Jack cheese, thousand island dressing, sprouts...
Look what we spotted on the streets of Frederick as we walked to The Orchard. The One-of-a-kind sign in the window certainly fits this Ferrari.
Tuesday, July 9, 2013
Remembering Rhubarb
Run to your garden and fetch some rhubarb. If it's past its prime, I hope you remembered to save some of those red and green stalks in the freezer.
Following up on a serious craving for something baked and featuring rhubarb, I got a rude awakening late last month at the supermarket. A little one-pound package of trimmed rhubarb stalks cost $5.99 per pound! No! I will not pay that much.
My daughter, who lives in the country, has a neighbor who grows a massive amount of this vegetable turned fruit with its strong tart taste. Sweetened with lots of sugar, rhubarb is best known as a featured ingredient in strawberry-rhubarb pie.
Anyway, the neighbor told my daughter to help herself to the rhubarb (which she hadn't done), so I hurried over to their house (the neighbor's) and asked if I might pick some. Sure, they said, although they felt it was past its prime.
Much as I love pies, particularly strawberry-rhubarb, I wanted to try something new and inventive. Invented by someone else, but new to me, that is. So, I headed to Pinterest, created a Rhubarb Board and did a search on rhubarb. (P.S. You can find me on Pinterest.com at "Kathleen Read Richardson".)
The result was that I found lots of rhubarb photos and numerous promising recipes. I decided to start with one for COCONUT RHUBARB SCONES and then moved on to RHUBARB KUCHEN. Both turned out to be delicious, and I'll be making them again and again.
You can find the recipe for COCONUT RHUBARB SCONES at a Toronto food blog called Buttered Up!
* Be sure to add just a little sugar to the rhubarb as directed in the beginning of this recipe. Stirring in all of the sugar early on will draw too much liquid from the rhubarb and will produce a soggy product.
* One change I made... after lining a baking sheet with parchment paper (Don't you just love parchment paper!), I spread the mixture over the entire pan, making one giant scone. Once they baked and cooled, I used a pizza cutter to cut them into triangles.
* I still set the oven at 425-degrees Fahrenheit. It took 25 minutes to cook. Depending on your oven, the temperature might need to be lowered and/or the cooking time lengthened or shortened.
* Slivered almonds may be sprinkled on top before baking. Pat them gently to set them in place.
RHUBARB KUCHEN comes from Donalynn at The Creekside Cook and this recipe fills two 8 or 9-inch pans. I eventually ate my way through one (really, I shared it!) and one awaits my pleasure in the freezer.
* Rhubarb Kuchen has three layers ~ batter, filling and topping.
* Unlike the Coconut Rhubarb Scones, you'll be adding all the sugar specified to the rhubarb for a syrupy filling.
ITALICS..................
One more hint when making either of these rhubarb delights... Keep a small metal nail file and a nail brush by your kitchen sink. You'll need both for cleaning under your nails.
Following up on a serious craving for something baked and featuring rhubarb, I got a rude awakening late last month at the supermarket. A little one-pound package of trimmed rhubarb stalks cost $5.99 per pound! No! I will not pay that much.
My daughter, who lives in the country, has a neighbor who grows a massive amount of this vegetable turned fruit with its strong tart taste. Sweetened with lots of sugar, rhubarb is best known as a featured ingredient in strawberry-rhubarb pie.
Anyway, the neighbor told my daughter to help herself to the rhubarb (which she hadn't done), so I hurried over to their house (the neighbor's) and asked if I might pick some. Sure, they said, although they felt it was past its prime.
Much as I love pies, particularly strawberry-rhubarb, I wanted to try something new and inventive. Invented by someone else, but new to me, that is. So, I headed to Pinterest, created a Rhubarb Board and did a search on rhubarb. (P.S. You can find me on Pinterest.com at "Kathleen Read Richardson".)
The result was that I found lots of rhubarb photos and numerous promising recipes. I decided to start with one for COCONUT RHUBARB SCONES and then moved on to RHUBARB KUCHEN. Both turned out to be delicious, and I'll be making them again and again.
You can find the recipe for COCONUT RHUBARB SCONES at a Toronto food blog called Buttered Up!
* Be sure to add just a little sugar to the rhubarb as directed in the beginning of this recipe. Stirring in all of the sugar early on will draw too much liquid from the rhubarb and will produce a soggy product.
* One change I made... after lining a baking sheet with parchment paper (Don't you just love parchment paper!), I spread the mixture over the entire pan, making one giant scone. Once they baked and cooled, I used a pizza cutter to cut them into triangles.
* I still set the oven at 425-degrees Fahrenheit. It took 25 minutes to cook. Depending on your oven, the temperature might need to be lowered and/or the cooking time lengthened or shortened.
* Slivered almonds may be sprinkled on top before baking. Pat them gently to set them in place.
RHUBARB KUCHEN comes from Donalynn at The Creekside Cook and this recipe fills two 8 or 9-inch pans. I eventually ate my way through one (really, I shared it!) and one awaits my pleasure in the freezer.
* Rhubarb Kuchen has three layers ~ batter, filling and topping.
* Unlike the Coconut Rhubarb Scones, you'll be adding all the sugar specified to the rhubarb for a syrupy filling.
ITALICS..................
One more hint when making either of these rhubarb delights... Keep a small metal nail file and a nail brush by your kitchen sink. You'll need both for cleaning under your nails.
Saturday, June 22, 2013
Mom's Meatloaf
Yesterday, the first day of summer, I had an urge for meatloaf, just like my mother used to make us back in the 1950s and 60s. There you go, now you can guess at my age.
Funny that I should want to turn on the oven on what turned out to be a hot, sunny day following a long, busy morning and early afternoon. My grandsons finished school for the year and I went with their mother -- my daughter -- to pick them up and to attend the younger’s kindergarten graduation ceremony. Congratulations to Devon, member of the class of 2025! Meanwhile, his big brother Damian successfully completed 4th grade.
Back to the Mom’s Meatloaf... My mother always kept it simple and served it on weeknights, alternating with Macaroni and Cheese and other casseroles.
MOM’S MEATLOAF
(serves 6-8)
Ingredients...
2-3 slices white bread, torn into small pieces
1 cooking onion (5-6 oz.), diced
1 egg
1/4-cup ketchup
1 tablespoon Bragg Liquid Aminos (or Worcestershire sauce)
2 teaspoons Dusseldorf Style Mustard (or your favorite)
Salt and pepper, to taste
1 pound 80% lean ground beef
1 pound 90% lean ground beef
Directions...
1. Preheat oven to 375-degrees Fahrenheit.
2. Grease bottom and sides of loaf pan.
3. Prepare bread and onion. Can be done by hand or in a food processor.
4. Stir in slightly beaten egg, ketchup, liquid aminos (or Worcestershire), mustard, salt and pepper.
5. Break ground beef into small pieces and mix into other ingredients with large wooden spoon or by hand.
6. Spoon mixture into greased loaf pan and gently pat into shape.
7. Bake 60 - 70 minutes.
8. Using spatula/s, carefully lift from loaf pan onto serving platter. Cover with a tent of aluminum foil and let sit for 10 minutes before serving.
9. Served topped with ketchup or serve ketchup “on the side”. As an alternative, about 15 minutes before the meatloaf is done, spread a thin layer of ketchup on the top and sprinkle with brown sugar.
Okay, so I didn’t do it exactly like Mom would have done it. I used the food processor for the bread crumbs and onions. Were there food processors in the 50s and 60s? We sure didn’t have one.
Also, no such thing as liquid aminos in our house back then. I just decided to throw that in for extra taste (it’s salty, too, so consider that when adding salt).
Last but not least, Mom would have used plain yellow prepared mustard.
I remember my grandmother -- my mother’s mother -- making meatloaf, too. She always let me watch and/or help. Don’t pat the mixture firmly into the pan. Keep your touch light, she said. She had a reason, but I don’t remember it.
TV TRAY
As a single person, Isometimes often take my meal to the living room and eat off a TV tray while watching a movie or documentary. TV tray meals are usually carefully prepared thrown together with whatever happens to be in the kitchen, no measurements recorded.
Baked tortilla, pierogies, cooked cranberries and carrots, sour cream
(Last but not least, I hope you'll take a few minutes to visit my other blog, CORNING NY STEP BY STEP -- a view of the city where I live.)
Funny that I should want to turn on the oven on what turned out to be a hot, sunny day following a long, busy morning and early afternoon. My grandsons finished school for the year and I went with their mother -- my daughter -- to pick them up and to attend the younger’s kindergarten graduation ceremony. Congratulations to Devon, member of the class of 2025! Meanwhile, his big brother Damian successfully completed 4th grade.
Back to the Mom’s Meatloaf... My mother always kept it simple and served it on weeknights, alternating with Macaroni and Cheese and other casseroles.
MOM’S MEATLOAF
(serves 6-8)
Ingredients...
2-3 slices white bread, torn into small pieces
1 cooking onion (5-6 oz.), diced
1 egg
1/4-cup ketchup
1 tablespoon Bragg Liquid Aminos (or Worcestershire sauce)
2 teaspoons Dusseldorf Style Mustard (or your favorite)
Salt and pepper, to taste
1 pound 80% lean ground beef
1 pound 90% lean ground beef
Directions...
1. Preheat oven to 375-degrees Fahrenheit.
2. Grease bottom and sides of loaf pan.
3. Prepare bread and onion. Can be done by hand or in a food processor.
4. Stir in slightly beaten egg, ketchup, liquid aminos (or Worcestershire), mustard, salt and pepper.
5. Break ground beef into small pieces and mix into other ingredients with large wooden spoon or by hand.
6. Spoon mixture into greased loaf pan and gently pat into shape.
7. Bake 60 - 70 minutes.
8. Using spatula/s, carefully lift from loaf pan onto serving platter. Cover with a tent of aluminum foil and let sit for 10 minutes before serving.
9. Served topped with ketchup or serve ketchup “on the side”. As an alternative, about 15 minutes before the meatloaf is done, spread a thin layer of ketchup on the top and sprinkle with brown sugar.
Okay, so I didn’t do it exactly like Mom would have done it. I used the food processor for the bread crumbs and onions. Were there food processors in the 50s and 60s? We sure didn’t have one.
Also, no such thing as liquid aminos in our house back then. I just decided to throw that in for extra taste (it’s salty, too, so consider that when adding salt).
Last but not least, Mom would have used plain yellow prepared mustard.
I remember my grandmother -- my mother’s mother -- making meatloaf, too. She always let me watch and/or help. Don’t pat the mixture firmly into the pan. Keep your touch light, she said. She had a reason, but I don’t remember it.
TV TRAY
As a single person, I
Baked tortilla, pierogies, cooked cranberries and carrots, sour cream
(Last but not least, I hope you'll take a few minutes to visit my other blog, CORNING NY STEP BY STEP -- a view of the city where I live.)
Wednesday, May 29, 2013
Coconut Salmon ~ Mmm, Mmm, good!
I had an urge to make pudding last night. What to use? A bit of brown rice in the cupboard and part of a huge can of coconut milk! That’ll do the trick. But, what to do with the leftover coconut milk?
Salmon thawing in the frig for supper and why wouldn’t coconut milk fit the bill? Think tropics -- hand-caught fish and coconuts falling off tall trees. Well, enough of that talk. After all I’m in the middle of New York State. The nearest coconut tree I know of is at the Smithsonian Mall -- in the Conservatory of the U.S. Botanic Gardens -- in Washington DC, five hours to the south.
A basic pan-seared salmon fillet is my favorite. A couple of tablespoons of flour, salt & pepper. Warm the pan over medium heat and add a tablespoon of olive oil and one of butter. Dredge the salmon fillet in the flour mixture and shake off the excess.
As soon as the bottom is browned and the fish looks cooked just 1/8-1/4 inch up, turn the fish with tongs. Cook for another 3-5 minutes then start spooning on coconut milk. The milk will sizzle away when it drizzles down onto the pan. Keep spooning for a minute or two.
Turn off the heat under the pan and place the fillet on a plate. Cover the fish with a “tent” of aluminum foil tucked tightly around the edges of the plate.
Stir a few more spoonfuls of coconut milk into the pan.
After a minute or two, remove the foil tent and spoon the extra sauce onto the salmon.
I completed my meal with a mixture of mesclun (baby field greens) and arugula from my garden, topped with EVOO and red wine vinegar.
TV TRAY
As a single person, I
Tortillas, ham, sour cream, chives, cream cheese, tomato, provolone cheese; broccoli
(Last but not least, I hope you'll take a few minutes to visit my other blog, CORNING NY STEP BY STEP -- a view of the city where I live.)
Monday, May 20, 2013
English Muffin Bread
Imagine the best English Muffins you’ve ever tasted. Now step it up a notch by baking this English Muffin Bread, then slicing it and toasting the individual slices as you need them.
English Muffin Bread has long been a favorite of mine, and I don’t make it anywhere near often enough. So, each time that I do bake this delicious bread, I’m once more pleasantly surprised by the texture and taste.
The recipe I followed looks like I might have cut it out of a magazine (and taped it onto an index card), but I don’t know for sure what magazine or when or who came up with the recipe. I’m guessing, however, that it might have been the producers of Fleischmann’s Active Dry Yeast.
ENGLISH MUFFIN BREAD
(Makes 2 loaves)
Ingredients...
2 packages Fleischmann’s Active Dry Yeast
6 cups unsifted flour
1 tablespoon sugar
2 teaspoons salt
1/4-teaspoon baking soda
2 cups milk
1/2-cup water
cornmeal
Directions...
1. Combine half the flour (3 cups), yeast, sugar, salt and baking soda.
2. Heat liquids until very warm (120-130 degrees Fahrenheit).
3. Add liquids to dry mixture and beat well.
4. Stir in rest of flour to make a stiff batter.
5. Spoon into two 8-1/2 x 4-1/2 inch pans that have been greased and sprinkled with cornmeal.
6. Sprinkle tops of uncooked loaves with cornmeal. Cover and let rise in a warm place for 45 minutes.
7. Bake at 400 degrees Fahrenheit for 25 minutes. Remove from pans immediately and cool.
8. Slice and toast before eating. Serve with butter and/or jam.
...or peanut butter
...or Nutella
TV TRAY
As a single person, I
Pasta, canned tomatoes, scallions, asparagus, mascarpone cheese, basil, S&P; buttered carrots, mango.
Subscribe to:
Posts (Atom)