Here’s how Thanksgiving 2013 went in my family. My daughter held the dinner at her country home.
*Her husband roasted the turkey using a recipe in which it’s covered with strips of salt pork.
*My son made the stuffing in a pan.
*My daughter made two apple pies and a pumpkins pie.
*I made QUICK AND EASY CREAM BISCUITS (baking powder biscuits using heavy cream in place of butter or shortening).
The secret to our successes? We used recipes from Americas Test Kitchen, Cooks Country and Cooks Illustrated (all part of Christopher Kimball’s “kingdom”).
The biscuits were my choice after browsing through numerous menu ideas and recipes. It was an Aha! moment when I came across this recipe ‘cause I’ve always loved to make baking powder biscuits and am quite good at it, if I do say so myself.
What I really like about Christopher Kimball’s sites is that most recipes have a video to go with the printed version. Seeing it done, step by step, makes it much easier for me. I did discover, however, that there was a slight variation in some of the quantities between the two sources. I chose to stay with the amounts in the written version.

QUICK AND EASY CREAM BISCUITS
(makes eight 2 ½-inch biscuits)
Ingredients…
2 cups unbleached all-purpose flour, plus extra for the counter
2 teaspoons granulated sugar
2 teaspoons baking powder
1/2-teaspoon table salt
1-1/2 cups heavy cream*
Instructions…
1. Adjust oven rack to upper-middle position and heat oven to 450 degrees. Line baking sheet with parchment paper.
2. Whisk together flour, sugar, baking powder and salt in medium bowl. Stir in the cream (*see note) with a wooden spoon until dough forms, about 30 seconds. Turn the dough out onto a lightly floured counter and gather into a ball. Knead the dough briefly until smooth, about 30 seconds.

3. Shape the dough into a 3/4-inch THICK circle. Cut biscuits into rounds (I used a 2-1/2-inch diameter round cookie cutter) or wedges. Place on parchment-lined baking sheet. (The baking sheet can be wrapped in plastic wrap and refrigerated for up to 2 hours.) Bake until golden brown, about 15 minutes, rotating baking sheet halfway through baking.
(*add most, then more if needed; may need all, or not—consult Cooks Illustrated video for specifics)
My notes (or, What worked for me)…
1. My original plan was to multiply everything X4 and make one big batch. Then I decided follow the original recipe as a test. After all, conditions and equipment in my kitchen won’t be the exact same as in the Cooks Illustrated kithen.
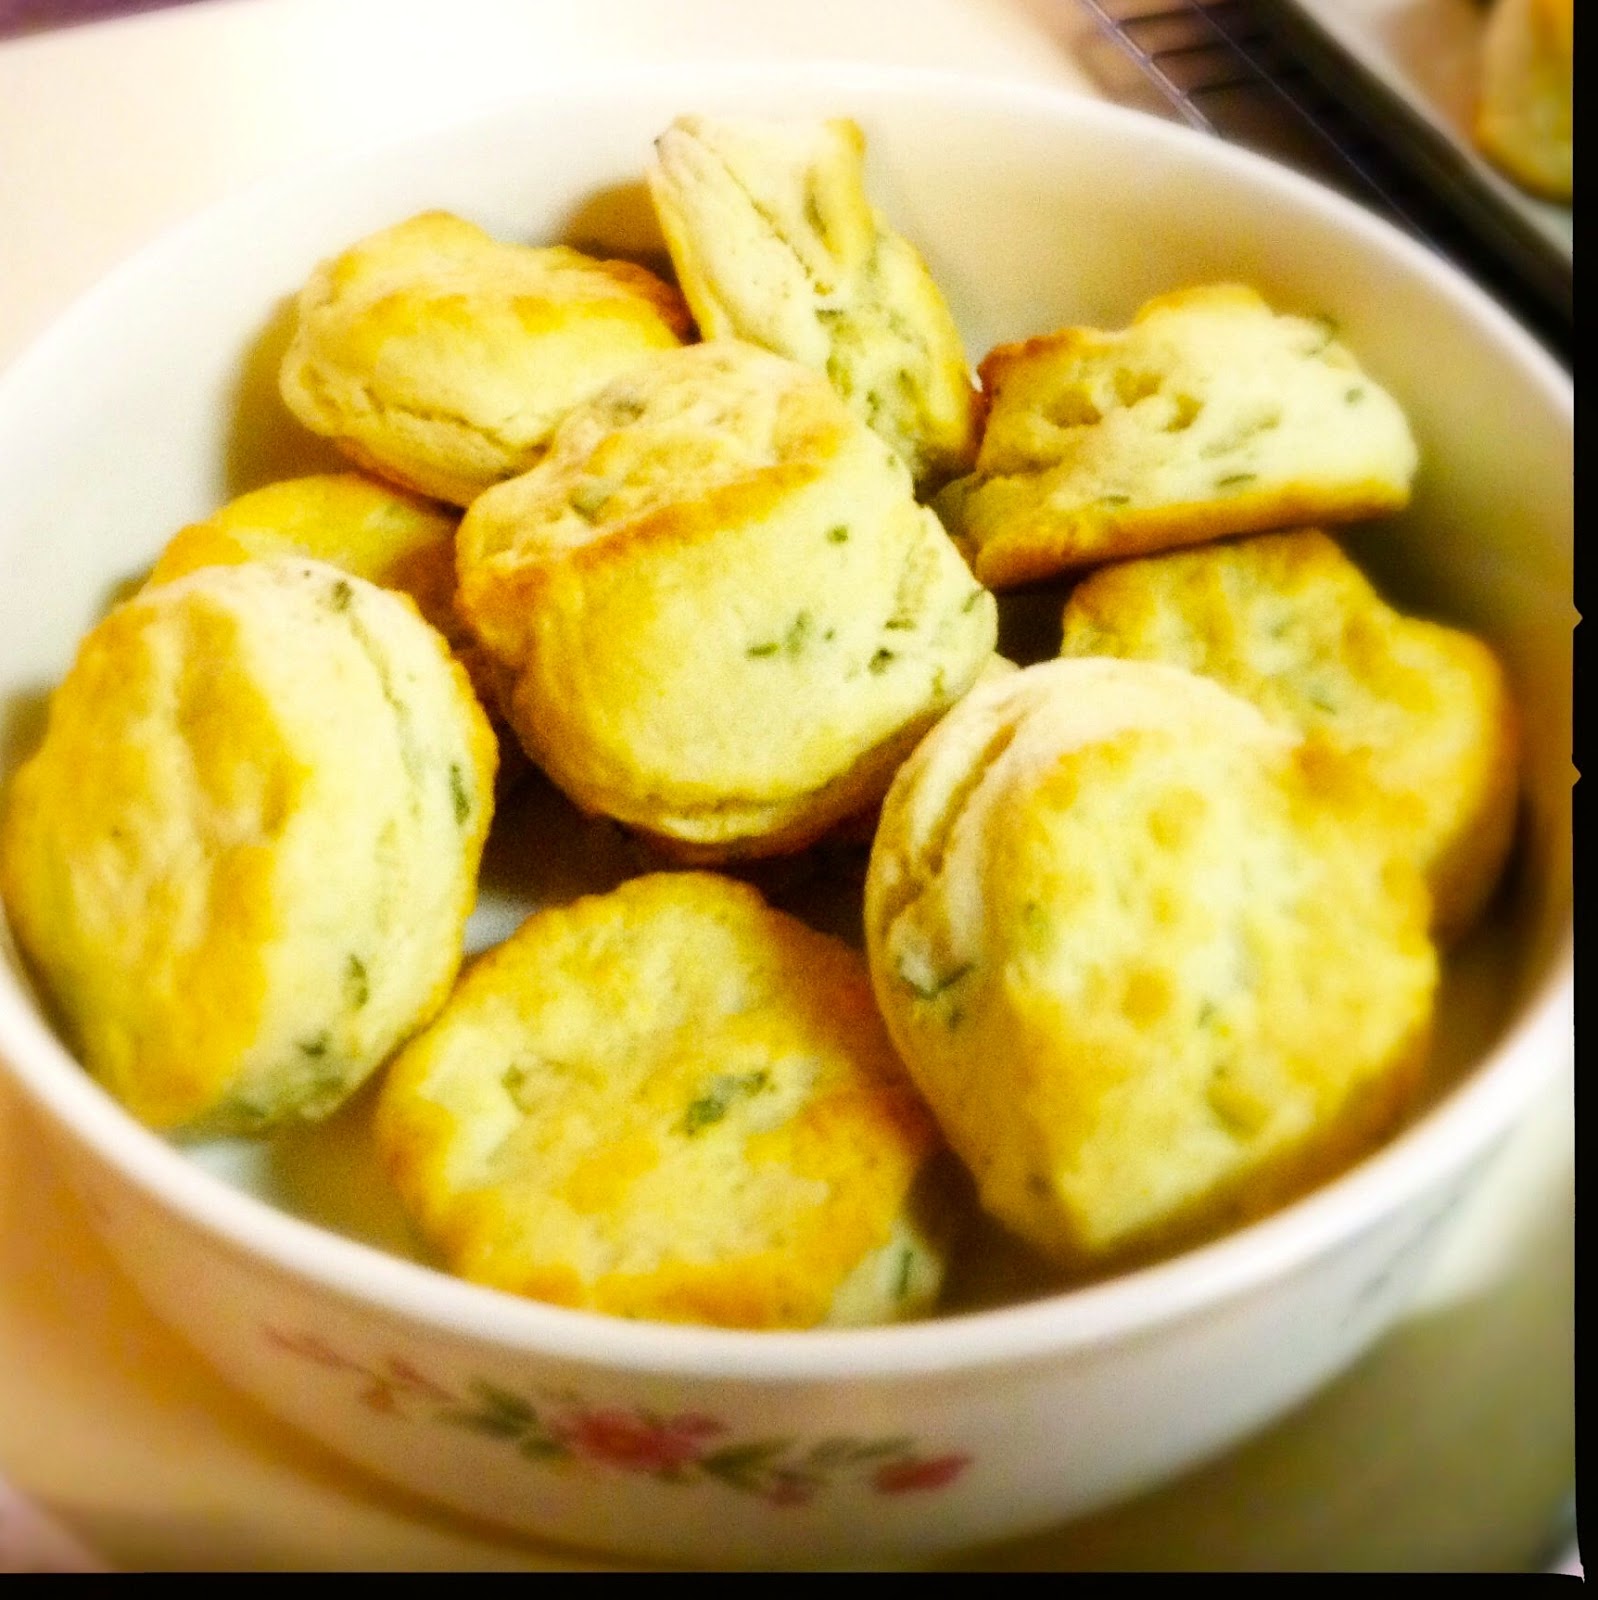
2. First batch went smoothly, but when baked, the biscuits rose so high that they “fell over”. See the middle biscuit in the picture below? Imagine if it was even higher and fell completely over, in an upside-down, fat U-shape.

3. One batch at a time is just enough to mix. Any more and it would wear out my hand.
4. If you ever made bread, you know you don’t beat on it, but you don’t have to be “gentle”. You can be a little forceful with these biscuits. Too light a hand when kneading and they won’t rise to meet your expectations.
5. On my first try, I used an 8-inch round cake pan as recommended. I pat out the dough in the pan then turned it upside down to remove the dough, before cutting shapes. Because of the high-rising results, I decided to use a 9-inch pan on future batches and that seemed to work much better.

6. After changing to a 9-inch pan, I also lowered the oven heat to 425-degrees. Every oven is different, so it’s worth experimenting to find what works for you. Look for a golden finish, and then take one out of the oven to pull apart and test for doneness.

By the time I’d completed my third batch—and tasted all the “rejects” (leftover pieces)—I was well satisfied that this recipe was a winner!
Slather on a pat of butter. Add jelly or jam. I topped mine with a spoonful of Bammer's Jammers which was featured in my last post.

Probably my favorite way to eat baking powder biscuits is the next morning for breakfast, warmed up and topped with butter and maple syrup. No, there’s no photo. I ate them before I thought of it!
******
My other blog is CORNING NY STEP BY STEP -- a view of the city where I live.
CORNING NY STEP BY STEP is now on Facebook. LIKE it and you’ll see when I post a new entry to that blog, plus there will be extra photos of people, places and things of Corning that didn’t make it into the blog.
I am thinking, but am reluctant to set myself up for another disappointment. So far every time in my long life that I've tried to do something like this -- well, the step that says to knead them? I have no doubt that the minute I touched that dough I would pull away ten fingers with almost all the dough stuck to them. I've concluded that there are two types of people: those who can handle dough without it coming away in finger-shaped clumps and those who can get away from it. Something to do with chemical make-up of skin? Who knows, but there it is. :-)
ReplyDeleteDear Anon... I used to (and still occasionally) suffer the same consequences when I stick my fingers in bread dough. Perhaps, however, you are correct about the skin. Come over sometime and we'll make them together (or at least have fun trying).
DeleteLoving how flaky and buttery these biscuits look! Hot out of the oven with a bit of Bammers Jammers sounds like a perfect match for the holidays. I don't make homemade biscuits often enough, I really need to get baking more like you. Wishing you a super holiday. Take Care, BAM
ReplyDelete(Dear Readers... If you're reading this comment, please give homage to the talented BAM, creator of the delicious Bammers Jammers.)
DeleteBAM, these biscuits are such fun to make. Get your guys involved. Didn't you say something recently about them liking to throw things back and forth? They could try it with this dough :)
I'll be back home Friday and planning for my annual Christmas eve supper. Happy holidays to you and your family, too. Merry Christmas, Happy New Year and all that!
A few weeks ago, I made biscuits from scratch for the first time in a long time and was happy that I did. I used to feel insecure about the kneading process ... decided to let it go. I want to try your recipe next. Your photos have put in a 'biscuit mood' :)
ReplyDeleteA 30-second kneading process. You'll find yourself wanting to do more. I always kneading but now my fingers can't take it anymore so I rely on my KitchenAid mixer which does a great job. But, for these biscuits, I did it by hand. Anyways, Brenda, these are so good and you can have them anytime of the year. Ex., think chicken and biscuits!
Delete