Wednesday, November 23, 2011

PIE CRUST PREP ~ Part 2


My previous entry went through the steps leading up to forming uncooked pie dough in disc shapes, wrapping them in plastic and aluminum foil, and then freezing them for Thanksgiving and Christmas.

Today, the day before Thanksgiving, I pulled out two discs to make pie shells for pumpkin pie. I actually let them thaw in the refrigerator all night, then removed them from the frig about twenty minutes before I used them. One thing I now know, having made the pies, is that the dough would have rolled better if I’d added maybe another teaspoon or two of water. They didn’t roll quite as thin as I would have liked, but having tasted it cooked -- a small piece broke off -- I can tell it’s going to be flaky and yummy.


You can see in the photo above, and in the next three photos, that there are tiny bits of shortening and bigger pieces of butter throughout the disc. That’s what makes the pie crust flaky.

I used my Wilton Roll & Cut Mat and love that it has circles on it going out inch by inch. I usually turn my pan pan upside down then add 2-3 inches to the measurement and that’s the diameter for my dough circle.


After sprinkling flour on the mat, the rolling pin and the disc, I roll the dough beyond the circle size I want, then trim it off. Believe me when I say, these circles never roll out to a perfect configuration (Does this word work here? I like the sound of it.). After carefully loosening the circle with a spatula, the choices are to fold it into quarters or roll it around the rolling pin.


It easy to see in this picture that the dough could have been thinner. I stopped at that thickness because it didn’t want to hold together if I pressed it any further. By the way, rolling dough calls for light pressure. Don’t lean into it.

To make repairs in the uncooked pastry dough, rub a tiny bit of cold water on the part of the pie to which you are going to add a "patch".

After placing the rolled out pastry in a pie pan, gently manipulate it to fit. Don’t stretch it. Trim it off to 1/4 to 1/2 inch overhang. Tuck under the excess. Gently press down around the edge with index fingers.


Now that the pastry is ready, cover it with plastic wrap and place the pan back in the refrigerator while you prepare the filling. Follow baking directions according to whatever pie you are making.

If you have any leftover dough, leave it in whatever shape it is when you cut it off the circle. Sprinkle with cinnamon sugar and bake on a cookie sheet in the oven till nicely browned. My mother used to do this. I don't remember any of her pies, but I do remember the pieces of pastry sprinkle and baked with cinnamon sugar. It's been a while since I've done this myself, but I think it will take about 10-15 minutes. Remember, sprinkle the cinnamon sugar on the dough before you put it on the cookie sheet. Otherwise, it will probably burn onto the pan and you'll have a mess to scrub off.


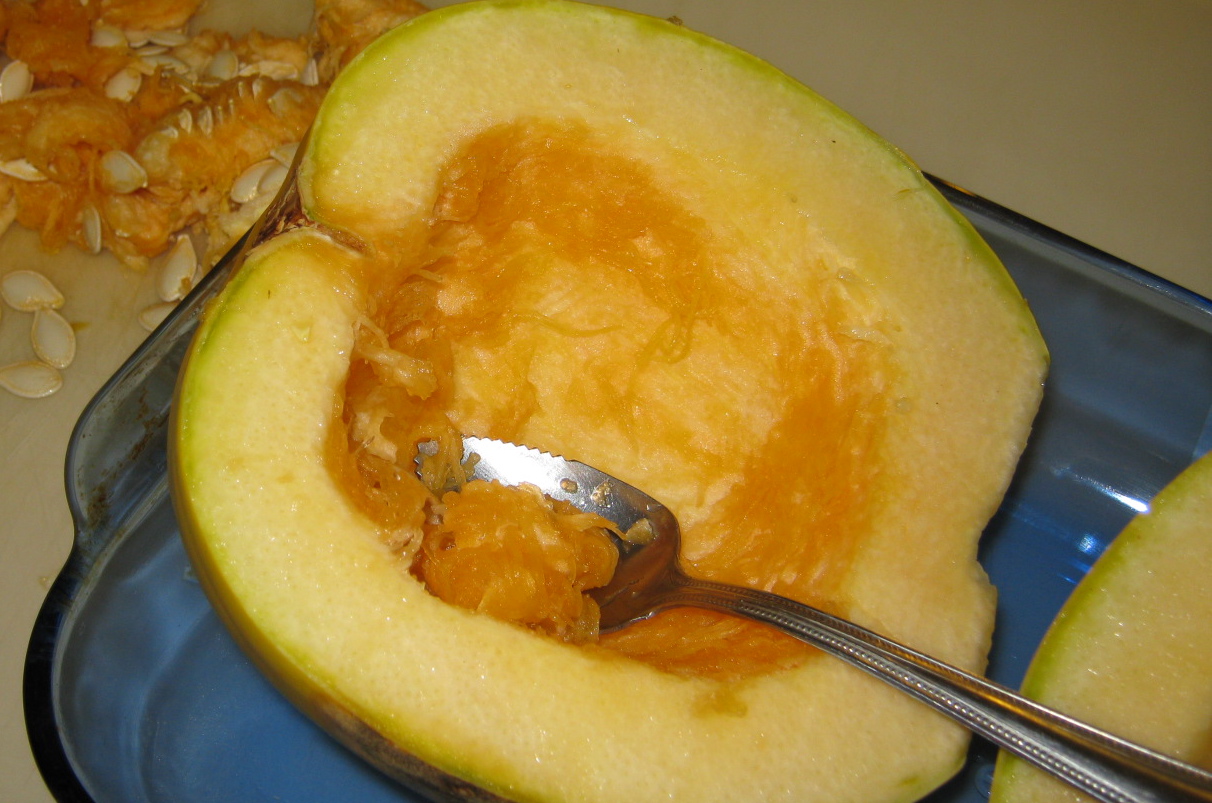
My pies are Pumpkins and Chocolate Pumpkin.

Happy Thanksgiving!


******

Step by Step in the Kitchen is now on Facebook. Take a look and "Like" the page. I'll be posting extra notes and photos there.

and

Visit my other blog ~ Corning NY Step by Step, a pictorial view of the City of Corning NY.

Monday, November 21, 2011

HOLIDAY PIE CRUST PREP


I’m baking pies for Thanksgiving dinner at my daughter’s house. Another opportunity to use my Kitchen Aid stand mixer. This machine does big loads, so I tripled the recipe, using the ingredients and amounts listed in the Kitchen Aid book. The ingredients are what I’ve always used in pie crusts: flour, salt, shortening, butter and water. Sometimes I’ve used only shortening; other times only butter.

What I’m blogging about today is just the preparation of the pie pastry. Rolling out the pastry and assembling the pies will come later... maybe. Depends on how busy I get, and on what the crusts look like when I start rolling them out. Maybe I’ll take photos even if the pastry looks terrible after being rolled out. The nice thing about pie crusts is that most it is hidden and if not, can be easily patched and prettied.


Pie pastry, ingredients for two crusts...
2-1/4 cups all purpose flour
3/4 teaspoon salt
1/2 cup shortening, well chilled
2 tablespoons butter, well chilled
5-6 tablespoons ice water

Pie pastry, ingredients for six crusts...
6-3/4 cups all purpose flour
2-1/4 teaspoons salt
1-1/2 cups shortening, well chilled
6 tablespoons butter, well chilled
15-18 tablespoons ice water


Directions...
1. Measure flour and salt into large mixing bowl; whisk together. Cover and refrigerate.
2. Measure shortening; cover and refrigerate.
3. Measure butter; cut in small pieces and refrigerate.
4. Measure ice water and refrigerate.
5. Check refrigerated shortening after several hours (or let sit in refrigerator overnight). When hard enough, cut into small pieces. Place back in frig for at least one more hour.
6. Add cut-up shortening and butter to flour/salt mix. Combine quickly till shortening is size of small peas.
7. Add water 1 tablespoon at a time until pastry is moistened and dough begins to hold together.
8. Using your hands, quickly shape the dough so that it can be cut into equal amounts.


9. Pat each piece into a flat disc, wrap it in plastic wrap, then foil. (Keep pastry covered with a damp paper towel, taking out enough for one disc at a time.)


10. If using the same day, or the next, refrigerate. At this time, too, the packages can be placed in the freezer until you’re ready to use them.


Notice the references to “chill” and “refrigerate” throughout this piece? That’s because it’s important to keep the ingredients cold, before and after assembling them. That’s also why you have to work quickly.

I used my Kitchen Aid mixer and it worked so much better for the larger quantity of ingredients. Optional methods of mixing are to use a pastry blender or a couple of knives (works well with smaller amounts of pastry dough).

Six pastry discs are ready and chilling in my freezer. Three or four will go into this week’s baking and the rest will await my pleasure. Maybe Christmas pies?


******

Step by Step in the Kitchen is now on Facebook. Take a look and "Like" the page. I'll be posting extra notes and photos there.

and

Visit my other blog ~ Corning NY Step by Step, a pictorial view of the City of Corning NY.

Thursday, November 17, 2011

GLUTEN-FREE, DAIRY-FREE BROWNIES


Believe it or not, these are the most delicious brownies I’ve ever had in my life, and I’ve eaten a lot of brownies in my sixty-six years!

The original recipe comes from Karina Allrich, the Gluten Free Goddess. I can’t recommend her too much -- she is that good. I’ve made minor adjustments to the recipe, but if you want to follow Karina’s exactly, check out her blog. Definitely sign up to receive updates (new recipes!) if you are on a gluten-free diet.

I’m not on a gluten-free or dairy-free diet, but I do like to try out foods I’ve never had before, so I’m exploring gluten-free these days. Because I wanted to stay with a dairy-free theme, I did a lot of label reading and it took a while to find just the right chocolate. Some chocolates include milk; some don’t.

I found all the ingredients at Wegmans supermarket.

I'm sure most of you know that if you click on a photo, you'll see an enlarged version. I can even click on the enlarged picture and get an even larger one. You just might not be able to resist buying these pricey (worth every penny) ingredients to make your own Gluten-free, Dairy-free Brownies once you've seen them close up.


GLUTEN-FREE, DAIRY-FREE BROWNIES

Ingredients...
5 ounces high quality dark chocolate (I used bittersweet)
1/2 cup coconut oil
1 cup plus 2 tablespoons light brown sugar (Karina recommends organic)
1/2 cup almond meal
1/4 cup brown rice flour
1/2 teaspoon fine sea salt (I use coarse Kosher salt in my cooking, so I used mortar and pestle to crush it fine)
1/4 teaspoon baking soda
2 eggs, beaten (Karina uses organic, free-range)
1 tablespoon bourbon vanilla
1/2 cup chopped pecans or walnuts (Optional)
1/2 cup dark chocolate chips (Optional - again, I used bittersweet)

Directions...
1. Preheat oven to 350 degrees fahrenheit. Line 8x8-inch square baking pan with foil and lightly oil the bottom. (I lined my pan with a parchment paper and greased it.)


2. Melt the dark chocolate and coconut oil in a saucepan over low heat, gently stirring. (Or melt in a microwave safe measuring cup and stir together to combine.)


3. In a large mixing bowl, whisk together the brown sugar, almond meal, brown rice flour, fine sea salt and baking soda. If the brown sugar tends to lump together, don’t be afraid to reach in with bare (clean) hands to rub away the lumps.


4. Make a well in the center of the dry ingredients and add beaten eggs, vanilla and melted chocolate/oil mixture. Beat on low for approximately two minutes, until the batter begins to come together. At first it may seem thin, like cake batter, but keep beating until it becomes smooth and glossy. (Mine was never thin and I felt like I was making fudge... yum!)


5. If you are adding nuts, stir them in by hand and spread the batter into the prepare pan.


6. Shake the pan a little bit to even out the batter. Layer the dark chocolate chips all over the top and press in slightly.
7. Bake 32 - 35 minutes or until the brownies are set and the top cracks like a flourless chocolate cake.


8. Cool on a wire rack and lift the cooled brownies from the pan by using the foil.
9. Chill for an hour before cutting.

The first time I made these Gluten-free, dairy-free brownies, I couldn’t wait for them to cool. They were delicious warm. They are delicious after cooling and hold together better this way. When I took them from the refrigerator and touched them with my finger, they seemed quite hard, but they cut easily.

Brownie instructions always say to grease/oil only the bottom of the pan. I wonder why.

If the only way you’ve incorporated coconut into recipes is through shredded coconut, you’re in for a treat. Coconut oil has the most heavenly aroma. Don’t be fooled by the word “oil” because this oil is not liquid; at least not the brand I bought.

Both the nuts and the dark chocolate chips are optional. Having made the brownies without them the first time and with them the second time, I highly recommend their addition.


Thanks again to Karina Allrich, Gluten Free Goddess, for this scrumptious treat!

******

Step by Step in the Kitchen is now on Facebook. Take a look and "Like" the page. I'll be posting extra notes and photos there.

and

Visit my other blog ~ Corning NY Step by Step, a pictorial view of the City of Corning NY.

Wednesday, November 16, 2011

Stove Top Stuffin' Muffins


Searching the Internet for Thanksgiving recipes, I've come across numerous ideas for muffins made of (turkey) stuffing, or should I say, turkey stuffing made into muffin shapes.

Wandering through Wegmans, I noticed boxes of Stove Top Stuffing on sale. Decided to give the muffin idea a try with this inexpensive product. Easier than fixing a huge pot of real stuffing that would take forever to eat by myself.

One thing I noticed about several of the recipes I found online was that the stuffin' muffins tend to fall apart when removed from the muffin tins. I added an egg in hopes that it would help hold the ingredients together. It worked. I also found that the more they cooled, the better they remained in one piece.


STOVE TOP STUFFIN' MUFFINS

Ingredients...
6-ounce box Stove Top Stuffing Mix for turkey (there are other varieties which should work just as well)
1-1/2 cup water
1/4-cup unsalted butter
1 beaten egg
1/4-cup chopped walnuts
Spray olive oil


Directions...
1. Preheat oven to 375-degrees Fahrenheit.
2. In a medium-sized saucepan, heat water and butter to boiling.
3. Stir in Stove Top Stuffing Mix. Cover and remove from heat.
4. Let sit 5 minutes then stir with a fork.
5. Transfer to a large bowl and cool, stirring once or twice.
6. Again with a fork, stir in the beaten egg and the walnuts.
7. Spray muffin tin.
8. Loosely spoon stuffing mixture into the muffin tin, filling eight sections for larger muffins or up to 24 smaller ones. Lightly pat them down with wet fingers.
8. Bake 20-25".


These were so easy to assemble and cook (even when setting up for and taking photos!). I did forget to get a picture of them in the muffin tin, before or after cooking, so you'll just have to use your imagination.

I ate four (egads!) for lunch along with Roasted Brussels Sprouts. I'll be posting the recipe for these scrumptious Brussels sprouts soon. Even if you're not a Brussels sprout fan, how can you resist them with pancetta, chicken tenders and dried cranberries?

For a smaller family: Stove Top Stuffin' Muffins will be a delicious change AND the kids will enjoy being able to pick them up. Plus, if you want, you can make them the day before.

Leftover homemade stuffing never seems the same after turkey day. So, this might be a good way to use up leftovers. Again, the kids are apt to love them.


******

Visit my other blog ~ Corning NY Step by Step, a pictorial view of the City of Corning NY.

Thursday, November 10, 2011

SALMON WITH CURRIED LEMON SAUCE


I remember the taste of this lemony sauce and the tender, flaky texture of the salmon. Trouble is, I made it several weeks ago and discovered today that I didn’t write down the ingredients, so this is going to be somewhat of a guessing game when it comes to amounts.

It’s not as bad as it sounds because I took a photo of the ingredients, and I believe that amounts vary depending on the taste of the person preparing the food.

In this case I was cooking for one - Me! If you want to prepare for two or more, change the ingredients accordingly; just don’t double or triple everything. Start with “less”, taste as you go, then add “more” if you feel the need.

SALMON WITH CURRIED LEMON SAUCE

Ingredients...
6 ounce salmon fillet, boneless and skinless
1 tablespoon all-purpose flour
1 teaspoon EVOO (aka extra virgin olive oil)
1 teaspoon butter
2 tablespoons Oikos Organic Greek Yogurt (my preferred brand)
1/2 teaspoon lemon juice (bottled or fresh)
1/2 teaspoon curry powder
1/4 teaspoon sesame oil
Kosher salt (opt)
Freshly ground black pepper (opt)


Directions...
1. In a small pan with high sides to confine any oil splatter, heat EVOO and butter
over medium heat. Meantime, rinse the fillet, pat it dry and coat it with the flour, gently shaking off any excess.
2. Sear (flash-fry, seal, brown) fillet, 3-5 minutes on each side depending on how well done you want your fish. I prefer the lesser amount because I know it will continue to cook after it’s removed from the pan.
3. Mix yogurt, lemon juice, curry, sesame oil, salt & pepper.


4. Remove fish from pan and add yogurt mixture to the pan. Turn heat down to low. Stir for about 30 seconds then pour over fish.


I microwaved a yam and some frozen french green beans. Topped the yam with some EVOO and salt and pepper and ate the beans plain.


******

Step by Step in the Kitchen is now on Facebook. Take a look and "Like" the page. I'll be posting extra notes and photos there.

and

Visit my other blog ~ Corning NY Step by Step, a pictorial view of the City of Corning NY.

Tuesday, November 1, 2011

FISH STICKS, SPAGHETTI SQUASH, TOMATOES AND PEAS


My supplies of winter squashes includes two spaghetti squashes, two decorative acorn squashes and one pumpkin. I probably won't cook them all. The pumpkin is painted white and has a black spider web drawn on it. The acorn squashes are too pretty to do away with and I'd like to see them last as long as possible on my dining room table.

That leaves the acorn squash. Just over a month ago, I featured spaghetti squash topped with leftover Sloppy Jane Mix. Today I'm cooking and topping it differently.

My initial challenge, as with all of the winter variety, is that these guys are tougher than tough to cut! My method -- and you might want to try it -- is to get the knife started, then whack it with a rolling pin. I suppose a hammer would work just as effectively, but the rolling pin is already at hand in the kitchen.


CLICK AT THE SIDE OF ANY PHOTO TO SEE AN ENLARGED VERSION.


After cutting the fruit (yes, it is a fruit), I used a grapefruit spoon to scoop out the seeds and pulp. Then I placed both halves in a pan, cut side up. There is no need to add water or anything else.


After cooking in a 350-degree Fahrenheit oven for 40-50 minutes, I removed the squash from the oven and used a fork to test its doneness. That means turning the fork upside down and scraping it along the flesh. Unless under- or over-cooked, the spaghetti like strands will separate easily.


The final plating included breaded fish sticks, tomato slices (only one more left from my harvest), and peas (store-bought, frozen). I drizzled EVOO over the spaghetti squash and tomatoes, added a light touch of kosher salt and freshly ground pepper. Oh, and I sprinkled a bit of dried basil on the tomato slices.


Simple and satisfying. Leftover spaghetti squash is freezable, but better refrigerated and used up in the next few days.

******

In the coming weeks...
Indian carrot pudding, chicken stir fry, apple-raisin bars, chocolate chip-cranberry cookies, eggplant lasagna, gluten-free/dairy-free brownies, salmon with curried lemon sauce, Santa Fe salmon, tofu-apple stir fry, tofu-chicken stir-fry, coconut cake, no-bake cookies w/coconut. That's what's saved on the computer. Who knows what I'll decide to make in the meantime.

******

Step by Step in the Kitchen is now on Facebook. Take a look and "Like" the page. I'll be posting extra notes and photos there.

and

Visit my other blog ~ Corning NY Step by Step, a pictorial view of the City of Corning NY.