Saturday, October 29, 2011

HALLOWEEN GHOST CUPCAKES


Halloween is two days away and here’s a last minute, easy recipe that can be made for kids or by kids! In this case, I was making a treat for my grandson’s Pre-K group.


If you have, or have had, small children, then you know that they love the look of cupcakes but tend to eat decorations and frosting and leave the cupcake. That’s okay with me, ‘cause I had lots of fun just making them.


I mixed up a pumpkin cake batter and baked the cupcakes in orange cupcake papers covered with ghosts. While they cooled, I gathered the decorations and set up an assembly line in which my son (g’son’s uncle!) frosted and added ghost peeps. When he passed them on to me, I added the pumpkin and sprinkled the exposed white icing with green “grass”.


CLICK AT THE SIDE OF ANY PHOTO TO SEE AN ENLARGED VERSION.


For those interested in a do-it-yourself project for kids of all ages, this is minimally messy and lots of fun.


Ingredients...
24 cupcakes
White icing
24 Peeps ghost
24 Pumpkin-shaped mellowcreme confections
Green sugar sprinkles


Directions...
1. Bake cupcakes and cool thoroughly.
2. Ice each cupcake.
3. Place a ghost in the middle.
4. Place a pumpkins in front of the ghost.
5. Sprinkle with green “grass”.


******

Step by Step in the Kitchen is now on Facebook. Take a look and "Like" the page. I'll be posting extra notes and photos there.

and

Visit my other blog ~ Corning NY Step by Step, a pictorial view of the City of Corning NY.


Monday, October 24, 2011

HALLOWEEN FINGER COOKIES


For the past two weeks, I’ve had appointments with a hand therapist to make new splints for my fingers. I wear them at night to rest my fingers and to slow down the arthritis that’s been bugging me for 9-10 years.

I was looking for a way to show my appreciation of his talent and hard work. I thought of a cake with a hand coming out of it, but after researching the Internet, I settled on Finger Cookies.

Aren’t they the greatest thing! And since it’s almost Halloween, it’s a perfect time for them. The hand therapist will be getting some, as will my hair stylist, a group at a meeting I’m attending tomorrow and my little grandsons for Halloween treats. Also plan to take a handful to the Halloween lunch at the Senior Center for a door prize.

I want to give credit to forum contributor 1OIDA at CakeCentral.com for this excellent recipe. There are other recipes to be found on the Internet, but this is the one I used and it worked beautifully. I also love the fact that it calls for “1” of everything except the flour. Makes it so simple.


CLICK JUST TO THE SIDE OF ANY PHOTO TO SEE AN ENLARGED VERSION.


FINGER COOKIES (makes about 4 dozen)

Ingredients...
1 cup butter, softened
1 cup powdered sugar
1 egg
1 teaspoon vanilla extract
1 teaspoon almond extract (1OIDA experimented with coconut extract and since I had some in the house, I did too)
2-3/4 cups flour
1 teaspoon baking powder
1 teaspoon salt
red decorating gel (I used Wilton colorless gel and added Wilton No-Taste Red coloring)
sliced almonds

Directions...
1. Cream butter and sugar.

2. Beat in egg and extracts.
3. Combine flour, baking powder and salt.

4. Add gradually to sugar mixture.

5. Cover and refrigerate for at least thirty minutes.
6. Meantime, tint the gel and sort through the almonds to find the largest fingernail shapes.

7. Preheat oven to 325-degrees Fahrenheit.
8. Lightly grease cookie sheets or line them with parchment paper, which is what I like to do.
9. Roll all the cookie dough into 1-inch balls, then with the palm of your hand roll each into an elongated shape, 3-inches x 1/2-inch.
10. Using a butter knife, make an indentation on one end of each for the fingernail bed. With the knife edge, make 3 slashes in the middle of the finger for the knuckle. ~
I made two sets of three slashes each.

11. Place cookies 2” apart on the cookie sheet. Bake for 18-20” until very lightly browned.
12. Cool three minutes.

13. Place a small bit of gel on the nail bed; press an almond over the gel, allowing gel to ooze around the “nail”.
14. Cool completely on wire racks.


Step by Step in the Kitchen is now on Facebook. Take a look and "Like" the page. I'll be posting extra notes and photos there.

and

Visit my other blog ~ Corning NY Step by Step, a pictorial view of the City of Corning NY.

Sunday, October 16, 2011

Raspberry Scallops


Most of the food blogs I follow are written by women. Recently I began following two blogs written by men and The Zesty Cook is one of them.

When Zesty posted an entry about cooking scallops with a raspberry sauce, I couldn’t resist.

Leave it to a man to lead me astray into the land of high-priced, decadent scallops and raspberries. Yet, I have to say, “Thank you, Zesty!”


Raspberry Scallops
(based on “A Raspberry Scallop” by Zesty Cook)
Serves 2

Ingredients...

10-12 sea scallops (Using smaller scallops, figure on one-half to two-thirds of a pound)
salt & pepper
1 tablespoon butter
1 teaspoon extra virgin olive oil (EVOO)
1 tablespoon brown sugar
zest of 1 lemon
juice of 1/2 lemon
1/2 cup raspberries plus several extras to garnish the finished dish


CLICK ON ANY PHOTO TO SEE AN ENLARGED VERSION.


Directions...

1. Pat scallops dry and lightly salt & pepper each side.
2. Melt butter and EVOO in fry pan over medium heat.
3. Saute scallops 1-1/2 minutes on each side. Lower heat if they are cooking too fast.


4. Remove pan from heat; lower heat to medium-low. Remove scallops to a plate.
5. Return pan to heat and stir in brown sugar, lemon zest, lemon juice and raspberries.


6. Cook gently for 2-3 minutes.
7. Return scallops to pan and spoon sauce over them.


Step by Step in the Kitchen is now on Facebook. Take a look and "Like" the page. I'll be posting extra notes and photos there.

and

Visit my other blog ~ Corning NY Step by Step, a pictorial view of the City of Corning NY.

Friday, October 14, 2011

ROASTED CARDAMOM APPLESAUCE


There’s time for one more recipe using apples while the season is still at a peak here in New York state.


My daughter and her family moved to a new home in the country this summer and are the proud possessors of five apple trees. No idea what kind they are and the apples don’t look that appetizing. That’s because they lay where they fall for days, the boys take a bite or two and throw an apple back on the ground, their American Bulldog pup chews pieces out of as many as she can find, and Mom (my daughter) mows through all those and more.

I come along, though, and find whatever is left and looking halfway decent. Plus I occasionally reach a branch and shake loose a few apples. I’m a firm believer in the old adage that it’s what’s inside that counts. And inside these sweet apples is a lovely underlying tartness. Delicious!


CLICK ON ANY PHOTO TO SEE AN ENLARGED VERSION.


Credit and kudos for the Roasted Cardamom Applesauce recipe goes to Katie, author of The Parsley Thief.


Katie’s recipe really called to me because I LOVE cardamom. I have a jarful of it in the cupboard and use it often in the creation of Halwa Gajar, an Indian carrot “pudding” which I will feature here on another day. In this dish, as well as in Halwa Gajar, I think it’s the aroma of the cardamom that I appreciate, even more than the taste.

The Parsley Thief’s version of this recipe suggests using a food mill. That allows you to leave the apples unpeeled and uncored while roasting them. Since I don’t possess a food mill, the peel comes off. I remove the apple core and seeds after I quarter them.

Instead of cutting the cardamom pods open with a knife, I push straight down on each one with the pestle (of mortar and pestle!). That breaks them open and exposes the tiny black seeds.


ROASTED CARDAMOM APPLESAUCE


Ingredients...
3 pounds sweet, slightly tart apples
8 cardamom pods
1/3 cup water
1/8 teaspoon coarse salt (I used Kosher)
1/4 cup brown sugar
1 tablespoon sugar
1/4 teaspoon ground cinnamon


Directions...
1. Peel, core and quarter apples (If using a food mill, only quarter them.) Spread in a 9x13 baking pan.
2. With mortar and pestle, break open cardamom pods, then crush the seeds slightly.
3. Mix cardamom, water, salt, sugars and cinnamon.
4. Pour cardamom mix over apples and stir to coat all.
5. Roast at 425-degrees Fahrenheit for 40 minutes or until tender. (I can tell the time has come when they have that cooked aroma and the cardamom mix is beginning to caramelize on the apples and in the pan.
6. Delicious warm or cold. Will keep in refrigerator up to one week.

You’ll notice from my first and my final photos of the finished product that my version is slightly chunky. That’s because I crushed the roasted apples with a fork and personally I love chunky applesauce.


******

Step by Step in the Kitchen is now on Facebook. Take a look and "Like" the page. I'll be posting extra notes and photos there.

and

Visit my other blog ~ Corning NY Step by Step, a pictorial view of the City of Corning NY.

Friday, October 7, 2011

APPLE ALMOND CAKE


Fall is in the air and so is the aroma of apples, fresh and cooked. It’s the time of year to head to apple farms and pick your own. Then, when you realize you’ve picked way too many, you’ll be looking for new ways to use your abundance of these juicy fruits.

Apple Almond Cake is based on an Apple Cake recipe I found in Woman’s World’s 10/10/11 issue. I picked up a copy of the magazine as soon as I stepped into Wegmans and stood there leafing through the recipes hoping to find one that would inspire me.

I ended up buying ingredients for the Apple Cake and the Chocolate Chip Cookies recipes I found in Woman’s World. I followed the Apple Cake pretty much as directed, with one notable exception. This recipe contains almond extract and slivered almonds, so I decided it was more fitting to present it as Apple Almond Cake.

(Look for the Chocolate Chip Cookies which I intend to refer to as Chocolate Chip-Cranberry Cookies in an upcoming blog entry. Yes, raw cranberries are finally in the produce section! I always buy a couple of bags and throw them in the freezer.)


CLICK ON ANY PHOTO TO SEE AN ENLARGED VERSION.


INGREDIENTS
--from Woman’s World 10/10/11

4 Gala apples, peeled, cored, halves thinly sliced
1-1/2 Heart Smart Bisquick
1/2 cup sugar
1/2 cup buttermilk
2 egg whites
1/4 tsp. almond extract
1 tablespoon butter, melted
2 tablespoons sliced natural almonds
2 tablespoons apple jelly, melted


DIRECTIONS

1. Preheat oven to 350-degrees Fahrenheit.
2. Coat 9” tart pan with removable bottom with cooking spray.
...I used a 9” ceramic tart pan and after spraying it with cooking spray, I lined it with parchment paper and sprayed the parchment.
3. Peel, core and halve apples, cut into thin slices, keeping slices together in shape of apple half.
...I found it was easier for me to halve the apples, then core them.


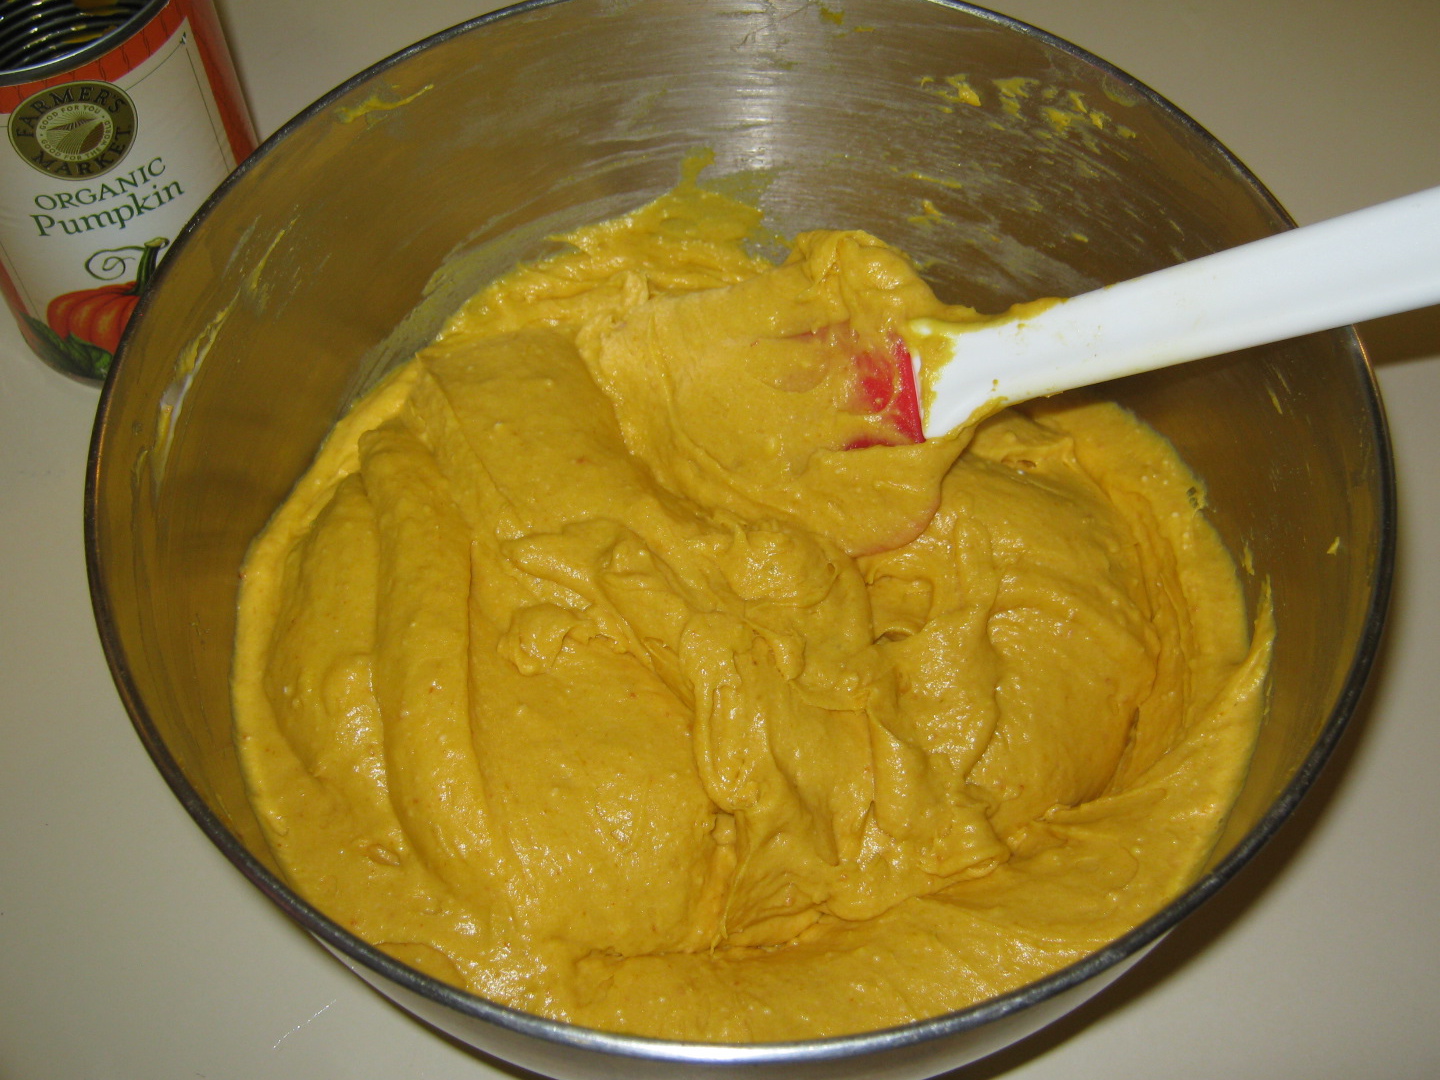
4. In large bowl, combine Bisquick and sugar; whisk in buttermilk, egg whites and extract.


5. Top with sliced apple halves trimming to fit if necessary.
...My apples were small so there was no need to trim. I could have spread them out.


6. Brush with melted butter. Bake 30 minutes.
7. Sprinkle with sliced almonds. Bake 10 minutes or until golden and toothpick inserted into center comes out clean.
8. Cool completely on rack. Brush with apple jelly.
...I placed the apple jelly in a small microwave safe dish and nuked it for about 10 seconds, then stirred.


9. To remove side of pan before serving, run knife around edge of cake to loosen.

Every time I’ve used buttermilk in a recipe that calls for small amounts such as this one does, I end up throwing out the rest of the quart of buttermilk. Recently I read that buttermilk can be frozen, so I sprayed plastic ice cube trays and poured the buttermilk in them. Each “cube” is equal to just under 1/8 cup. Once they were frozen, I placed them in freezer bags for future use.

I sampled the Gala apples -- which I purchased at the grocery store -- and found that they were bland but stayed with the recipe. Next time, I think I’ll sprinkle them with lemon juice (which will also keep them from turning brown) and a cinnamon-sugar mixture.

Another variation I want to try is making this an Upside-Down Apple Almond Cake, sprinkling the bottom of the pan with cinnamon red hots (and the almonds) and placing the apples in the bottom in a some kind of pattern. As it was, I could have skipped the parchment and simply served the tart in the pan. Or is removing it from the pan what makes it a tart?


******

“Like” Step by Step in the Kitchen on Facebook. I'll be posting extra notes and photos there.


******

Visit my other blog ~ Corning NY Step by Step, a pictorial view of the City of Corning NY.

Monday, October 3, 2011

QUICK AND EASY LUNCH


We all have days when we want to eat nutritiously because we know how much better we’ll feel than if we stuff ourselves with burgers and fries. Well, maybe not you. But, me, yes!

This just happened to be one of those days when I managed to pull together something quick and easy before I could succumb to the lure of the quick and easy fast food route.

Sure, I opened a few containers, but that’s okay. The Lentil Soup is from Progresso. I love their soups and think they are fairly nutritious.


CLICK ON ANY PHOTO TO SEE AN ENLARGED VERSION.


The yogurt is Yoplait Lite Lemon Cream Pie Yogurt that I happened to buy with a coupon. It’s lite, although that doesn’t guarantee its nutritional value.

The English Muffin Bread came from a bake sale and the Peach Chutney I put on the bread is homemade by my friend Nithya.


I usually buy my carrots shredded or sliced. If I wait for myself to clean and cut whole carrots, I might never get around to eating them. The carrots, zucchini and broccoli came from the grocery store. I put about an inch of water in my 3-quart Tramontina pan, added the steamer basket and turned the heat on medium. When I saw that the water was about to boil, I turned the heat down to low, added the steamer basket and the washed, cut-up vegetables, and placed the lid on top of the pan. These cooked for about twelve minutes, but it’s a good idea to check them earlier. Vegetables are best cooked as little as possible and remember that they’ll continue to cook after they come off the heat. I served the steamed vegetables with EVOO, plus salt and pepper to taste.


My Tramontina pan and lid was a big investment, but well worth it. It’s heavy and when it has food in it, I usually wear a potholder glove to get a better grip. But that’s just me and the arthritis in my fingers. The fact that it’s heavy is a bonus because it’s not apt to tip over. I also love how easy it is to clean. Even if something burns on, which only happens if I turn the heat too high, I put a bit of dish soap and water in it for a few minutes and it’s easy to scrub clean. Bought mine at Walmart last year.

Lunch is served...


******

Step by Step in the Kitchen is now on Facebook. Take a look and "Like" the page. I'll be posting extra notes and photos there.

and

Visit my other blog ~ Corning NY Step by Step, a pictorial view of the City of Corning NY.